【過程】
◆PythonでWindows常駐プログラムを作れるのか?⇒作れるらしい
www.regentechlog.com
◆環境構築
・virtualenvの使い方はコチラ
qiita.com
・まずは環境を作る。(最初のみ。)
C:\python>python -m virtualenv envselenium
・起動する。(これはWindows用の操作です。)
C:\python>envselenium\Scripts\activate
・ちなみに、終わるときはdeactivateです。
(envselenium) C:\python>envselenium\Scripts\deactivate
・Seleniumをインストール
www.inet-solutions.jp
(envselenium) C:\python>pip install selenium
・WebDriverをインストール
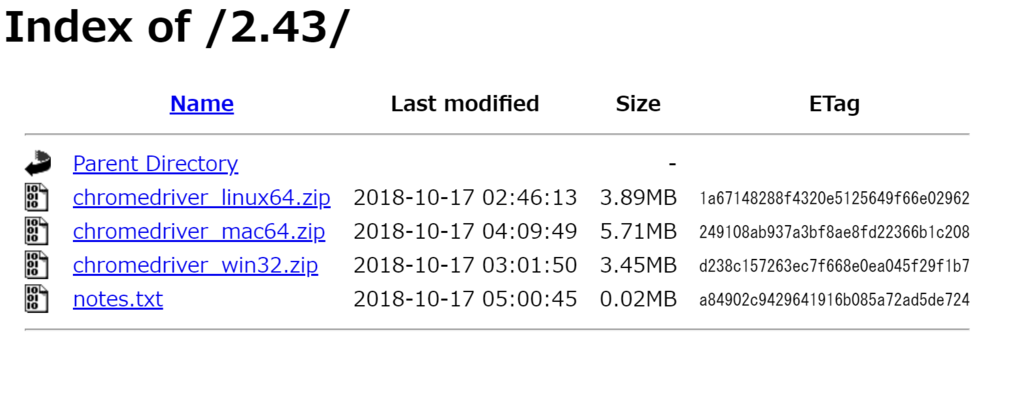
⇒GoogleChromeの場合は、ここからインストールします。
sites.google.com
⇒Win32をダウンロードして、C:\driver\に配置します。分かりやすい場所が良いです。

◆動作確認1:入力+クリック
・まずはサンプル動作確認
www.inet-solutions.jp
⇒ フォルダ位置は移動しました。py内にpythonスクリプトを書きます。
(envselenium) C:\python\envselenium\py>python sample.py
#program : sample.py
from selenium import webdriver
driver = webdriver.Chrome("c:/driver/chromedriver.exe")
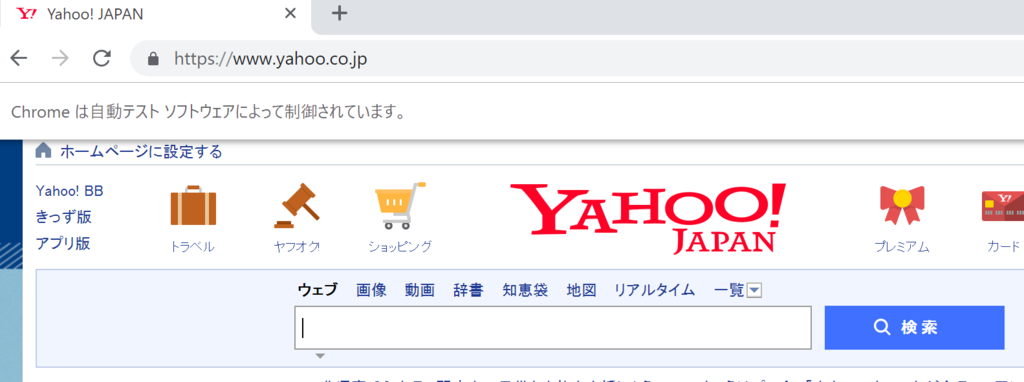
driver.get("http://www.yahoo.co.jp")⇒動いた、けど、「Chromeは自動テストソフトウェアによって制御されています」っていう表示が気になるなぁ。
 ,
,
・通知バーを消す
⇒これで、「Chromeは自動テストソフトウェアによって制御されています」を消せました。
help.applitools.com
#program : sample.py
from selenium import webdriver
chrome_options = webdriver.ChromeOptions()
chrome_options.add_argument("--disable-infobars")
driver = webdriver.Chrome("c:/driver/chromedriver.exe",chrome_options=chrome_options)
driver.get("http://www.yahoo.co.jp")あとで調べるけど、コマンドプロンプト自体も気になる。
・文字を入力してボタンを押す
from selenium import webdriver

driver = webdriver.Chrome("c:/driver/chromedriver.exe")
driver.get("http://www.yahoo.co.jp")

elem_search_word = driver.find_element_by_id("srchtxt")
elem_search_word.send_keys("selenium")
elem_search_btn = driver.find_element_by_id("srchbtn")
elem_search_btn.click()
⇒ 凄い!動いた!
◆動作確認2:イベント検知
#program : sample.py

from selenium import webdriver
from selenium.webdriver.support.event_firing_webdriver import EventFiringWebDriver
from selenium.webdriver.support.abstract_event_listener import AbstractEventListener
from time import sleep

class MyListener(AbstractEventListener):
    def before_click(self, element, driver):
        #要素をクリックする直前の処理
        print("before_click:" + driver.current_url)
    def after_click(self, element, driver):
        #要素をクリックした直後の処理
        print("after_click:" + driver.current_url)

#ChromeDriverのパスを引数に指定しChromeを起動
chrome_options = webdriver.ChromeOptions()
chrome_options.add_argument("--disable-infobars")
driver = webdriver.Chrome("c:/driver/chromedriver.exe",chrome_options=chrome_options)
#イベント発生クラスの引数に以下を指定する
#第1引数:WebDriverのインスタンス
#第2引数:イベント捕捉クラスのインスタンス
efw_driver = EventFiringWebDriver(driver, MyListener())
#指定したURLに遷移する
efw_driver.get("https://www.google.co.jp")
#「Gmail」へのリンクテキストの要素を取得
element = efw_driver.find_element_by_link_text("Gmail")
#「Gmail」のリンクテキストをクリックする
#element.click()
while(True):
sleep(1000)・・・というプログラムを書いてみたが、手動の操作の検知はできないかもしれない。やり方が分からん!やはりMSHTMLに戻るかなぁ。
◆動作確認3:制御対象ページ検知+WebDriver起動